Know how directly from the Microsoft 365 mail merge experts
Complete Guide for Email Encryption in Outlook: Step by Step
With cyber threats becoming increasingly alarming and undetected, taking proactive measures to protect your emails from prying eyes is crucial. This is why we’ve created this complete guide for email encryption in Outlook.
Recent statistics show that over 90% of cyberattacks begin with phishing emails. These attacks target individuals and businesses, resulting in data breaches, financial losses, and irreparable damage to one’s reputation.
That’s where email encryption comes in.
Imagine it as a virtual fortress for your emails, where only authorized recipients can access your confidential messages, shielding them from hackers and unauthorized individuals.
Email encryption isn’t just an option; it’s a necessity.
In this complete guide, we will unlock the secrets of email encryption in Microsoft Outlook, step by step. From obtaining a Digital ID, setting up your email certificate, and even exploring encryption between Outlook and other email clients, we’ve got you covered.
So let’s start!
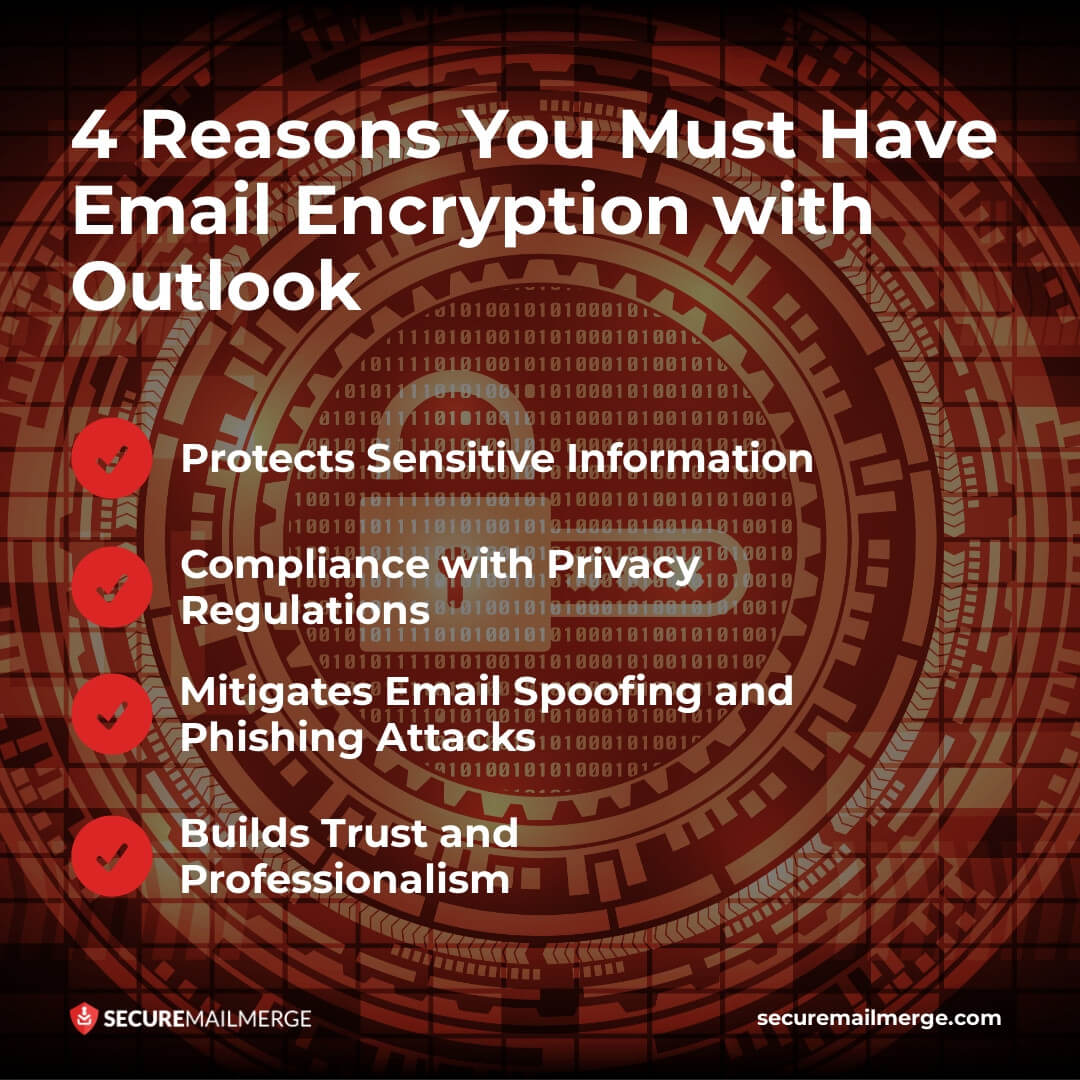
4 Reasons You Must Have Email Encryption with Outlook
Before delving into the practical steps, let’s understand the significance of email encryption and the benefits it offers:
-
Protects Sensitive Information
Email encryption ensures that only the intended recipient can access the contents of an email. This prevents unauthorized individuals from intercepting or tampering with the message, protecting sensitive data such as financial information, personal details, or trade secrets.
-
Compliance with Privacy Regulations
Many industries, including healthcare and finance, are subject to strict privacy regulations. By implementing email encryption, you can ensure compliance with these regulations, avoiding penalties and legal complications.
-
Mitigates Email Spoofing and Phishing Attacks
Encryption adds an extra layer of security that helps prevent email spoofing and phishing attacks. Even if an attacker manages to intercept the email, the encrypted content remains unreadable, thwarting their malicious intentions.
-
Builds Trust and Professionalism
Encrypting your emails demonstrates a commitment to security and professionalism. It reassures recipients that you prioritize the confidentiality and integrity of their information, fostering trust in your communications.
Now that we understand the importance of email encryption let’s proceed with setting up email encryption in Microsoft Outlook.
How to Get a Digital ID for Email Encryption Outlook
To ensure the encryption of your important Outlook emails, the initial step involves acquiring a Digital ID, also called an Email Certificate.
Microsoft recommends specific sources where you can obtain digital IDs. It’s important to note that these IDs enable you to send secure Outlook messages and offer protection for documents in various other applications, such as Microsoft Access, Excel, Word, PowerPoint, and OneNote.
The process of obtaining a Digital ID varies depending on the chosen service.
You typically receive an executable installation file that seamlessly adds the certificate to your system.
Here are some steps on how to obtain one:
- Open your web browser and search for a trusted Certificate Authority (CA) that issues Digital IDs compatible with Outlook.
- Choose a CA and navigate to their website. Look for a section related to email certificates or secure email.
- Follow the instructions provided by the CA to apply for an email certificate. This typically involves filling out a form with your personal information and paying any applicable fees.
- Once your application is approved, the CA will issue a Digital ID as a file or smart card.
Email Encryption for Outlook – 5 Simple Steps

Step 1: Set Up your Digital Certificate via Email
To use email encryption in Outlook, you must set up your digital ID/ email certificate. A digital certificate is a file that confirms the sender’s identity and enables secure communication.
Here’s how you can configure it with your email:
-
Go to Outlook’s “File” tab and click “Options.”
-
select “Trust Center” in the Options window and click the “Trust Center Settings” button.
-
Choose “Email Security” from the left-hand menu in the Trust Center window.
-
Under “Encrypted email,” click the “Settings” button.
-
select “Import/Export” in the Security Settings window and click “Import.”
-
Locate the digital certificate file (.pfx or .p12 format) on your computer and click “Open.”
-
Follow the on-screen instructions to complete the certificate installation process.
Step 2: Compose an Encrypted Email
Once you have installed the digital certificate, you can compose an encrypted email in Outlook.
Here’s how:
-
Open Outlook and click “New Email” to create a new message.
-
click on the “Options” tab at the top of the message window.
-
In the “Permission” group, click on “Encrypt.”
-
Compose your email as usual, adding the recipient’s email address and subject.
-
Attach any files you want to send securely.
-
Click “Send” to deliver the encrypted email to the recipient.
Step 3: Decrypting an Encrypted Email
While you’re learning to send email encryption in Outlook, knowing how to open the encrypted email in Outlook is also essential.
If you receive an encrypted email in Outlook, decrypting it to read the contents is a straightforward process:
-
Open the encrypted email in your Outlook inbox.
-
Click on the attachment icon or file name within the email.
-
You may be prompted to enter your digital certificate password if you have set one.
-
Once the email is decrypted, you can read and respond as you would with any other email.
Step 4: Managing Certificates and Trust Settings
You must manage your trust settings if you renew or change your CA.
To manage certificates and trust settings in Outlook, follow these steps:
-
Go to Outlook’s “File” tab and click “Options.”
-
select “Trust Center” in the Options window and click the “Trust Center Settings” button.
-
select “Email Security” from the left-hand menu in the Trust Center window.
-
Under “Encrypted email,” you will find options to manage your certificates and trust settings.
Here are a few key actions you can take here:
View Certificates:
Click on the “Settings” button to access the Security Settings window. From there, you can view and manage your installed digital certificates, including importing or exporting certificates.
Change Security Settings:
You can modify the default settings for encryption and digital signing in the Security Settings window. You can choose the encryption algorithm, set certificate expiration dates, and configure other encryption-related options.
Manage Trusted Publishers:
Click the “Settings” button next to “Automatic digital signatures” to manage trusted publishers. Here, you can add or remove trusted publishers whose digitally signed messages you want to trust automatically.
Update or Revoke Certificates:
You can do so from the Security Settings window if you need to update or revoke a certificate. Select the certificate you wish to update or cancel and follow the on-screen instructions.
Step 5: Verifying Email Encryption
To ensure that your outgoing emails are encrypted and your incoming emails are correctly decrypted, it’s essential to verify the encryption status.
Follow these steps to verify email encryption in Outlook:
-
Compose a new email and select the recipient’s email address.
-
In the “Options” tab, click on “Permissions” and choose “Encrypt-Only” or “Do Not Forward” (depending on your requirements).
-
Send the email to the recipient.
If the recipient uses an email client that supports encryption and has their digital certificate installed, they should receive the email in an encrypted format.
Tip
To verify the encryption of an incoming email, look for the “Encrypted” icon or the lock symbol in the email header or subject line. You can also open the email and check for the “This message was encrypted” notice at the top of the message body.
Email Encryption Microsoft Outlook and Other Emails
While Outlook offers built-in encryption capabilities, it’s important to note that email encryption can sometimes be client-dependent.
In case you find yourself worrying about sending encrypted emails to different addresses or email providers other than Outlook, here are a few scenarios to consider:
-
Encryption Between Outlook Users
Email encryption occurs seamlessly when both the sender and recipient use Outlook and have valid Digital IDs.
-
Encryption with Other Email Clients
Outlook supports S/MIME encryption, which is widely compatible with other email clients supporting S/MIME. However, the recipient’s email client must be configured to handle encrypted messages.
-
Non-encrypted Email Recipients
Send an encrypted email to a recipient who does not have a Digital ID or whose email client doesn’t support encryption. They will receive a notification or an attachment that allows them to retrieve the encrypted message securely.
Create Advanced and Secure Email Campaigns with Secure MailMerge
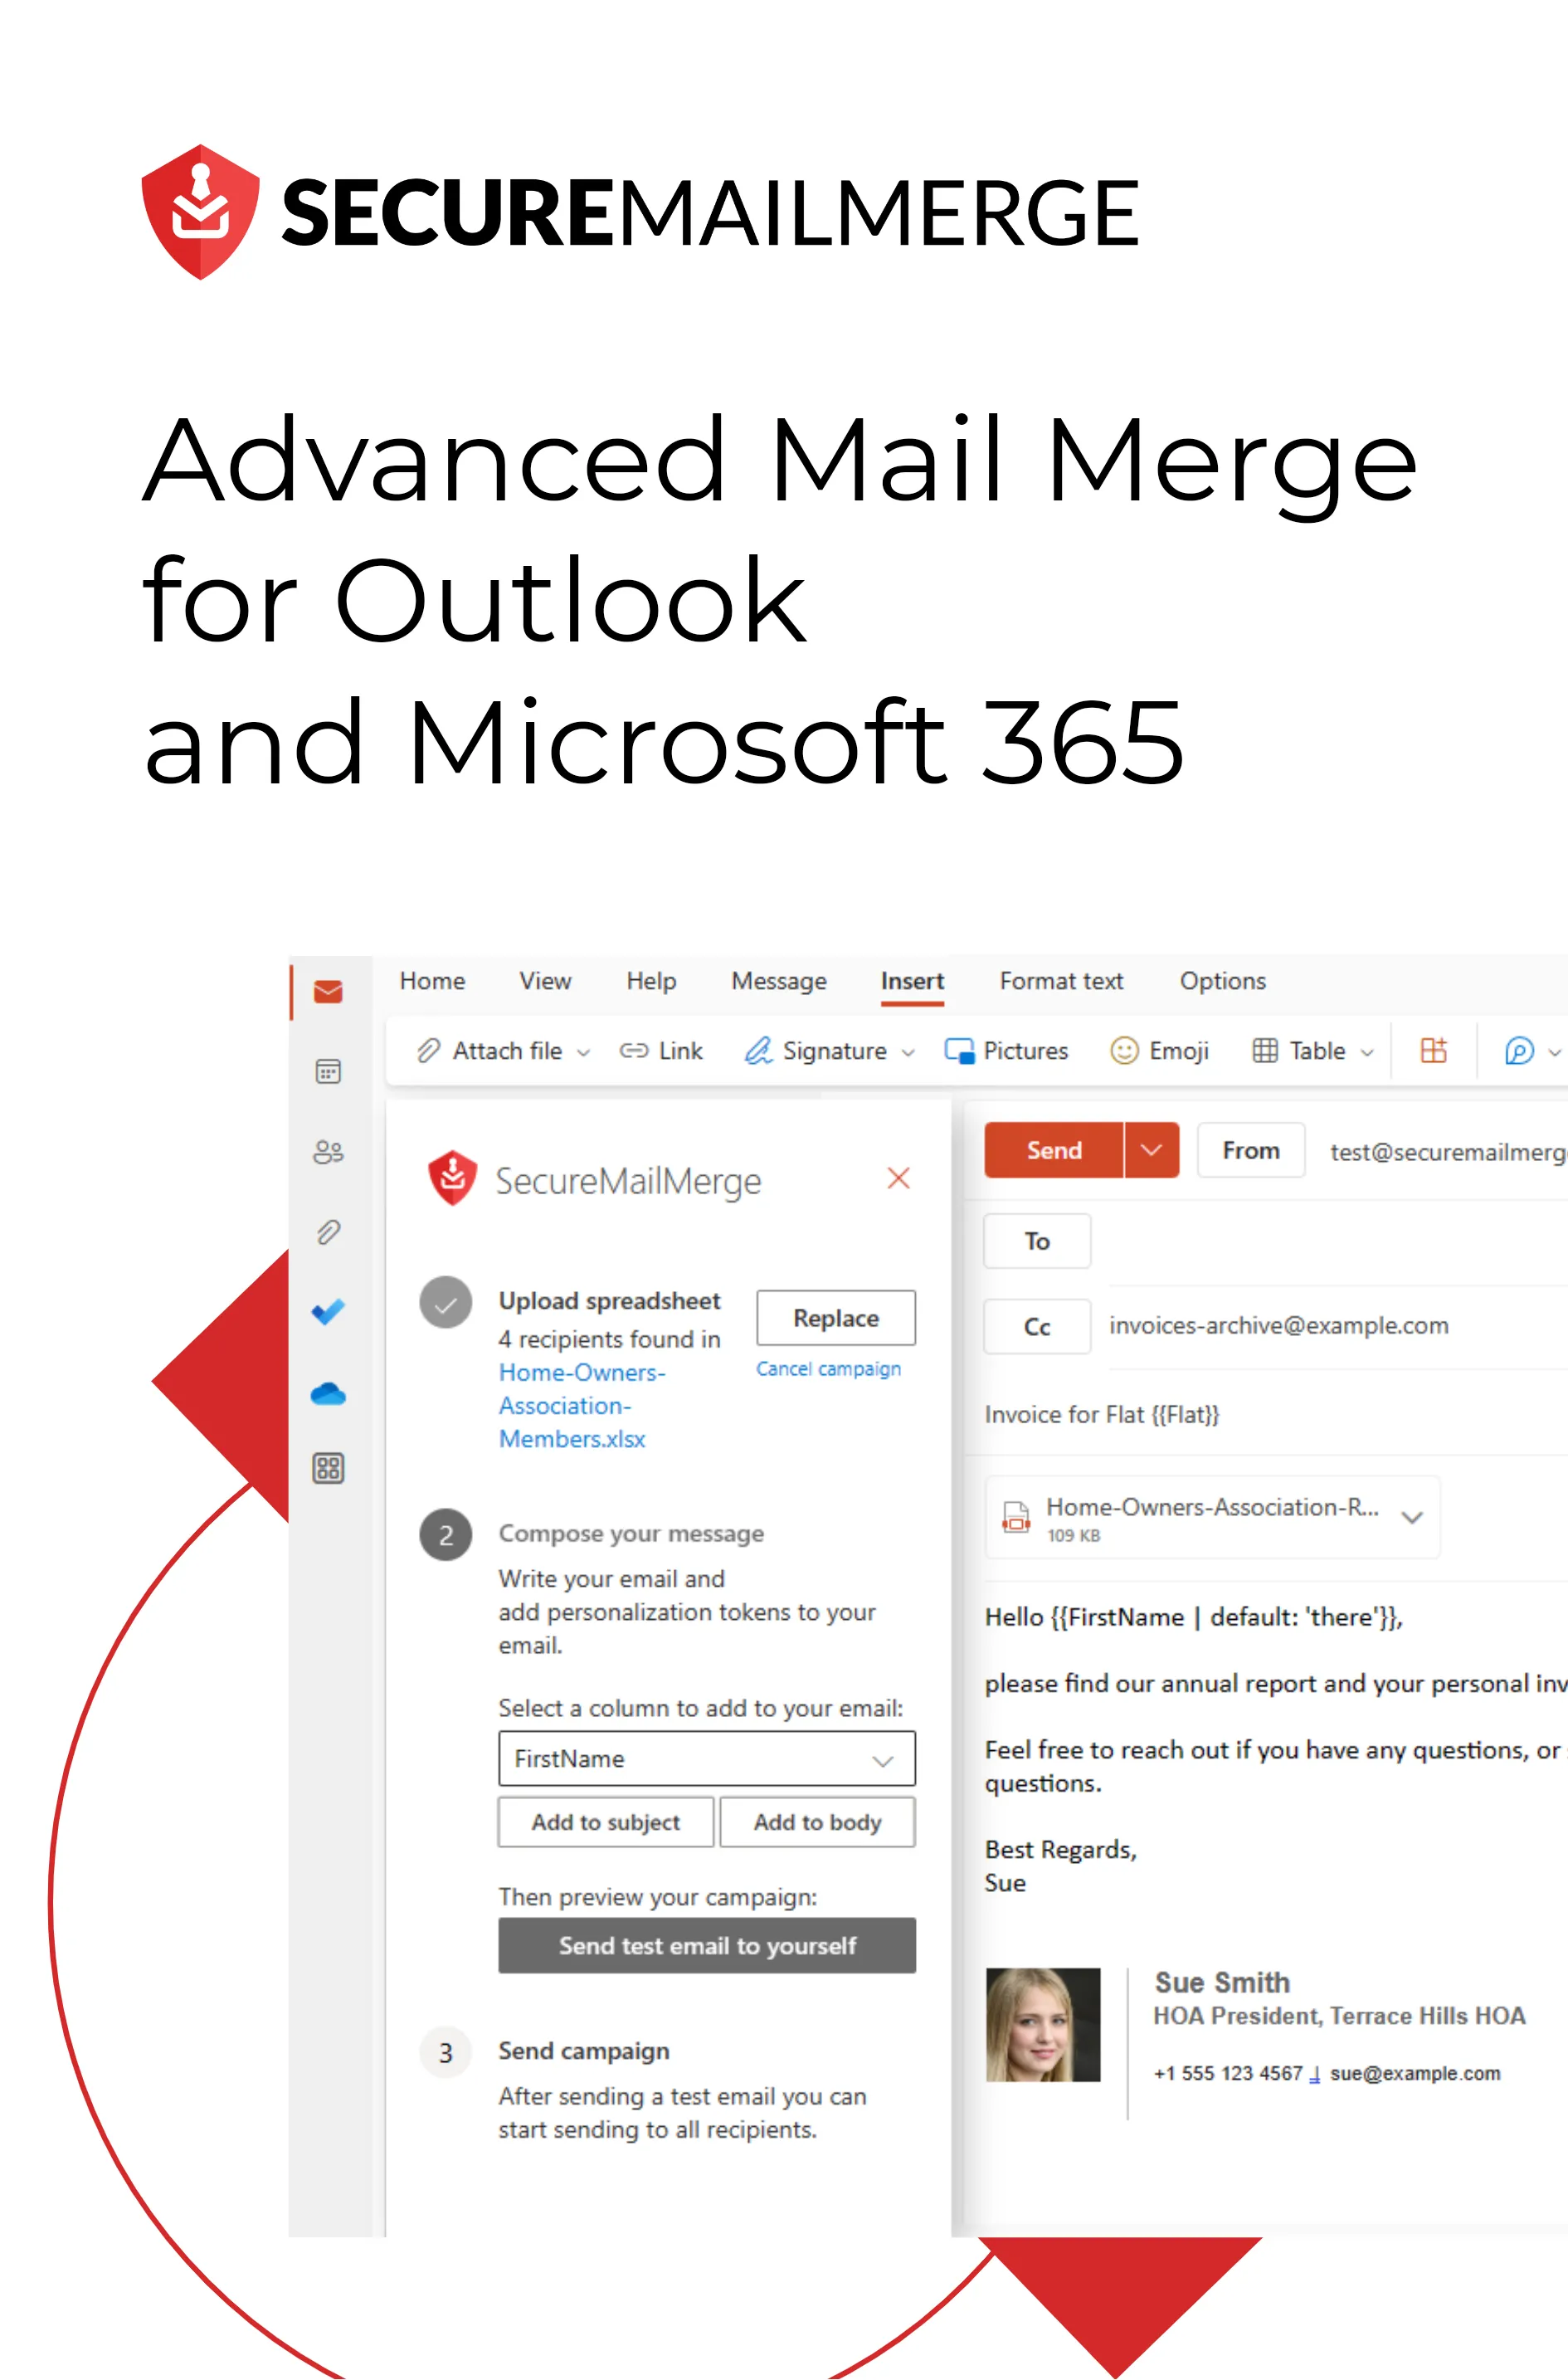
Streamlining the process of sending personalized emails with individual attachments can be a challenging task. However, Microsoft Outlook 365 users can now use a convenient solution.
Secure MailMerge is a dedicated mail merge plugin explicitly designed for Outlook users, offering a modern interface and a range of advanced features that simplify the customization and management of emails.
With its user-friendly setup process, extensive customization options, consistent formatting, and high-end security Secure MailMerge have become the preferred choice for simplified and personalized email campaigns.
Install Secure MailMerge for Free on Microsoft and start your email journey with advanced features and security.
Enjoyed this article?
We have a whole library of useful articles for you to read
Show me the library of Outlook articles